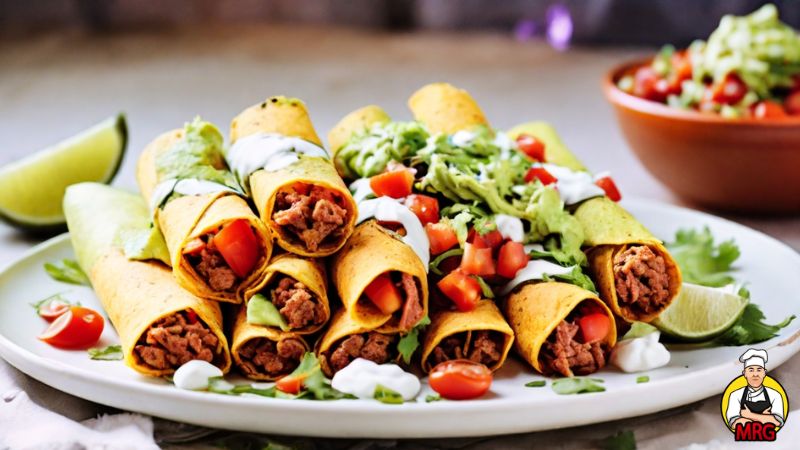
Taquitos, those crispy rolled-up tacos, have earned their place as a beloved staple in Mexican cuisine and beyond. When filled with succulent ground beef and melty cheese, they transform into a delectable treat that’s perfect for game days, family dinners, or as a festive party appetizer. Their crunchy exterior paired with a flavorful interior makes beef taquitos not just a dish but an experience. Whether it’s a busy weeknight or a casual gathering, these taquitos are always a hit.
Choosing the Best Beef: Your Foundation for Flavor
What’s the secret to the best beef taquitos? It all starts with choosing the right type of beef. Should you go for lean or a bit fatty? Here’s the scoop: Opt for ground beef with a bit of fat—about 15% fat to 85% lean. This ratio offers a perfect blend of flavor and moisture, ensuring the beef remains juicy and delicious once cooked.
Seasoning: Elevating Your Beef
Seasoning is crucial. How do you ensure every bite of your taquitos is bursting with flavor? A good quality taco seasoning mix can make all the difference, blending spices and herbs that complement the beef wonderfully. Consider making your own mix to control the flavor balance and salt content, ensuring each taquito is perfectly seasoned to your liking.
Essential Cooking Equipment and Usage Tips
To make the perfect taquitos, you don’t need an arsenal of kitchen gadgets, but choosing the right tools can enhance your cooking experience and outcome. Here are a few essentials:
- Deep Skillet: Ideal for cooking and browning the beef evenly.
- Tongs: These are perfect for safely turning your taquitos while frying, ensuring they get crispy all around without getting burned.
- Baking Sheet or Air Fryer: Depending on whether you choose to bake or air-fry your taquitos, each of these tools will be crucial. A baking sheet lined with parchment paper makes oven cooking mess-free, while an air fryer offers a quicker, crispier result with minimal oil.
How to Use Equipment Effectively:
- Deep Skillet: Heat a small amount of oil over medium-high heat before adding your beef. This prevents sticking and ensures your meat browns nicely without steaming.
- Tongs: Use them to gently place and rotate the taquitos in the oil, keeping your hands safe and the taquitos intact.
- Baking Sheet or Air Fryer: For oven baking, ensure your taquitos are not touching so they crisp up properly. In an air fryer, cook in batches if necessary to avoid overcrowding and ensure even airflow for that perfect crunch.
Using these tools effectively will help you achieve the best texture and flavor in your taquitos, making them irresistible. Next, let’s move on to the comprehensive recipe details.
Comprehensive Beef Taquitos Recipe
Classic Beef Taquitos
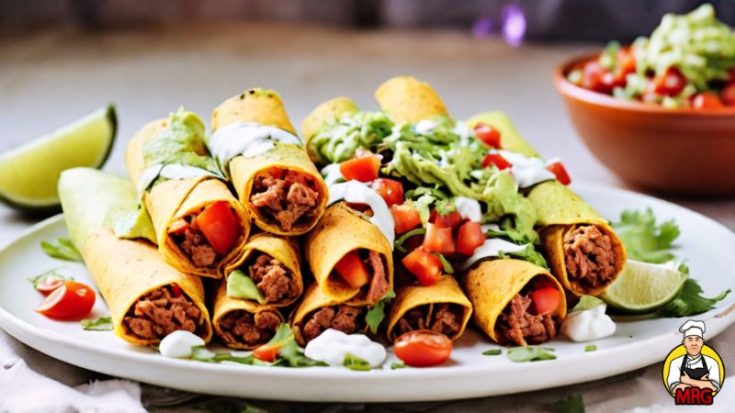
Beef Taquitos Recipe: Every time I make this dish, it brings a smile to my face. The crunch of the tortillas paired with the juicy, flavorful beef creates a symphony of textures and tastes. It's a simple, joyous meal that reminds me of gatherings with friends and the vibrant spirit of Mexican cuisine.
Ingredients
- 1 lb ground beef (15% fat)
- 1 cup Mexican blend cheese, shredded
- 12 yellow corn tortillas
- 2 tablespoons taco seasoning
- 1/4 cup onion, finely chopped
- Cooking oil, for frying
- Salt and pepper, to taste
Instructions
Prepare the Filling:
- Heat a deep skillet over medium heat and add a dash of avocado oil.
- Sauté onions until translucent, then add ground beef, breaking it apart with a spatula.
- Season with taco seasoning, salt, and pepper. Cook until beef is browned and fully cooked.
- Remove from heat and mix in shredded cheese until melted and combined.
Wrap the Taquitos:
- Warm corn tortillas on a skillet for a few seconds on each side to make them pliable.
- Spoon the beef mixture onto the lower third of each tortilla, roll tightly, and secure with a toothpick.
Cook the Taquitos:
- In a deep skillet, heat cooking oil over medium-high heat.
- Fry the taquitos in batches, turning occasionally, until crisp and golden brown, about 3-4 minutes. Remove and drain on paper towels.
Oven/Air Fryer Option:
- Preheat oven to 400°F or air fryer to 380°F.
- Place taquitos on a baking sheet or in the air fryer basket, spray lightly with cooking spray.
- Bake for 10-12 minutes in the oven or air fry for about 8 minutes, until crisp.
Nutrition Information:
Yield:
6Serving Size:
1Amount Per Serving: Calories: 290Total Fat: 15gCarbohydrates: 20gProtein: 17g
Serving Suggestions and Side Dishes
Serve your beef taquitos with a variety of toppings and side dishes to enhance their flavor:
- Toppings: Sour cream, guacamole, salsa, lettuce, and diced tomatoes.
- Side Dishes: Pair with cilantro lime rice, Mexican rice, refried beans, or a fresh corn salad for a complete meal.
Cooking Tips and Common Mistakes to Avoid
Tips:
- Do not overfill the tortillas; this prevents them from closing properly and can cause leaks while cooking.
- Ensure the oil is hot enough before frying; this helps the taquitos to cook evenly and become crispy without absorbing too much oil.
Common Mistakes:
- Using damp tortillas: Always dry your tortillas after warming them up to prevent breaking during rolling.
- Overcrowding the pan or air fryer: Cook in batches to ensure each taquito crisps up perfectly.
Conclusion: Enjoy Your Homemade Beef Taquitos!
With this detailed guide, you’re all set to make delicious beef taquitos that will impress at any gathering. Remember, the key to great taquitos is in the details—from selecting the right ingredients to how you cook them. Enjoy the process and your tasty results!
Related Article:


I’m Calvin Lamb, an LA-based culinary enthusiast with a decade’s experience in five-star kitchens. My innovative dishes, inspired by seasonal flavors and sustainable practices, blend classic and modern cuisine. Besides crafting unique culinary experiences, I relish exploring new eateries and devising fresh recipes.